Adding Documents
Use this option to add your document to FileEazy.
The Add Document feature only lets you add a single document. Drag and drop of multiple documents is not supported. If you want to add multiple documents, you will need to use the Import Data option in FileEazy.
Note: Before you start adding documents to FileEazy, you will need to create a Document Type and a Department.
FileEazy allows you to add different file formats. Allowed file extensions are: .pdf, .doc, .docx, .xls, .xlsx, .csv, .flv, .mp4, .ogv, .mp3, .ogg, .wav, .gif, .jpg, .jpeg, .png, .tif, .dwg, .zip.
FileEazy has no restrictions to add file types apart from the supported file formats. The maximum upload size for the file is 128 MB.
|
|
|
|
|
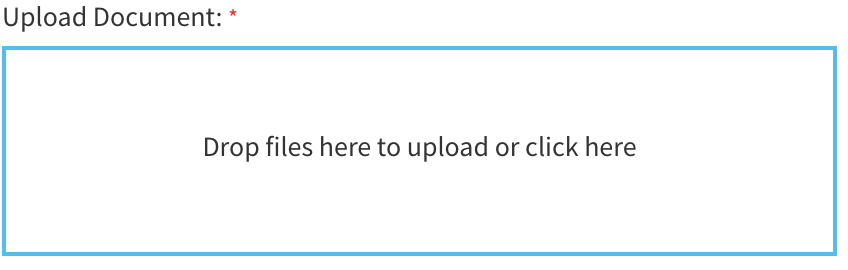
You have the option to either drag and drop a single file or choose the text to add a file. |
|
|
|
|
|
The Document Name is automatically set from the filename as the default but can be edited if necessary. |
|
|
Select the department to which the document should be added. |
|
|
Use this option to add a document to a Stack. |
|
|
|
|
|
Based on the tag category selected, the list of tag words will be displayed. |
|
|
Use this option to set an expiry date for a document and receive a reminder accordingly. |
|
|
|
|
|
|
|
|
|

You can add individual documents by clicking the Add Document button on the top menu section. It will bring up the Add Document screen.
Drag a file to the drop box or click on the drop box to open the explorer. Once the file is uploaded, select the Document Type. Depending on the Document Type selected, the Index fields of that Document Type will appear.
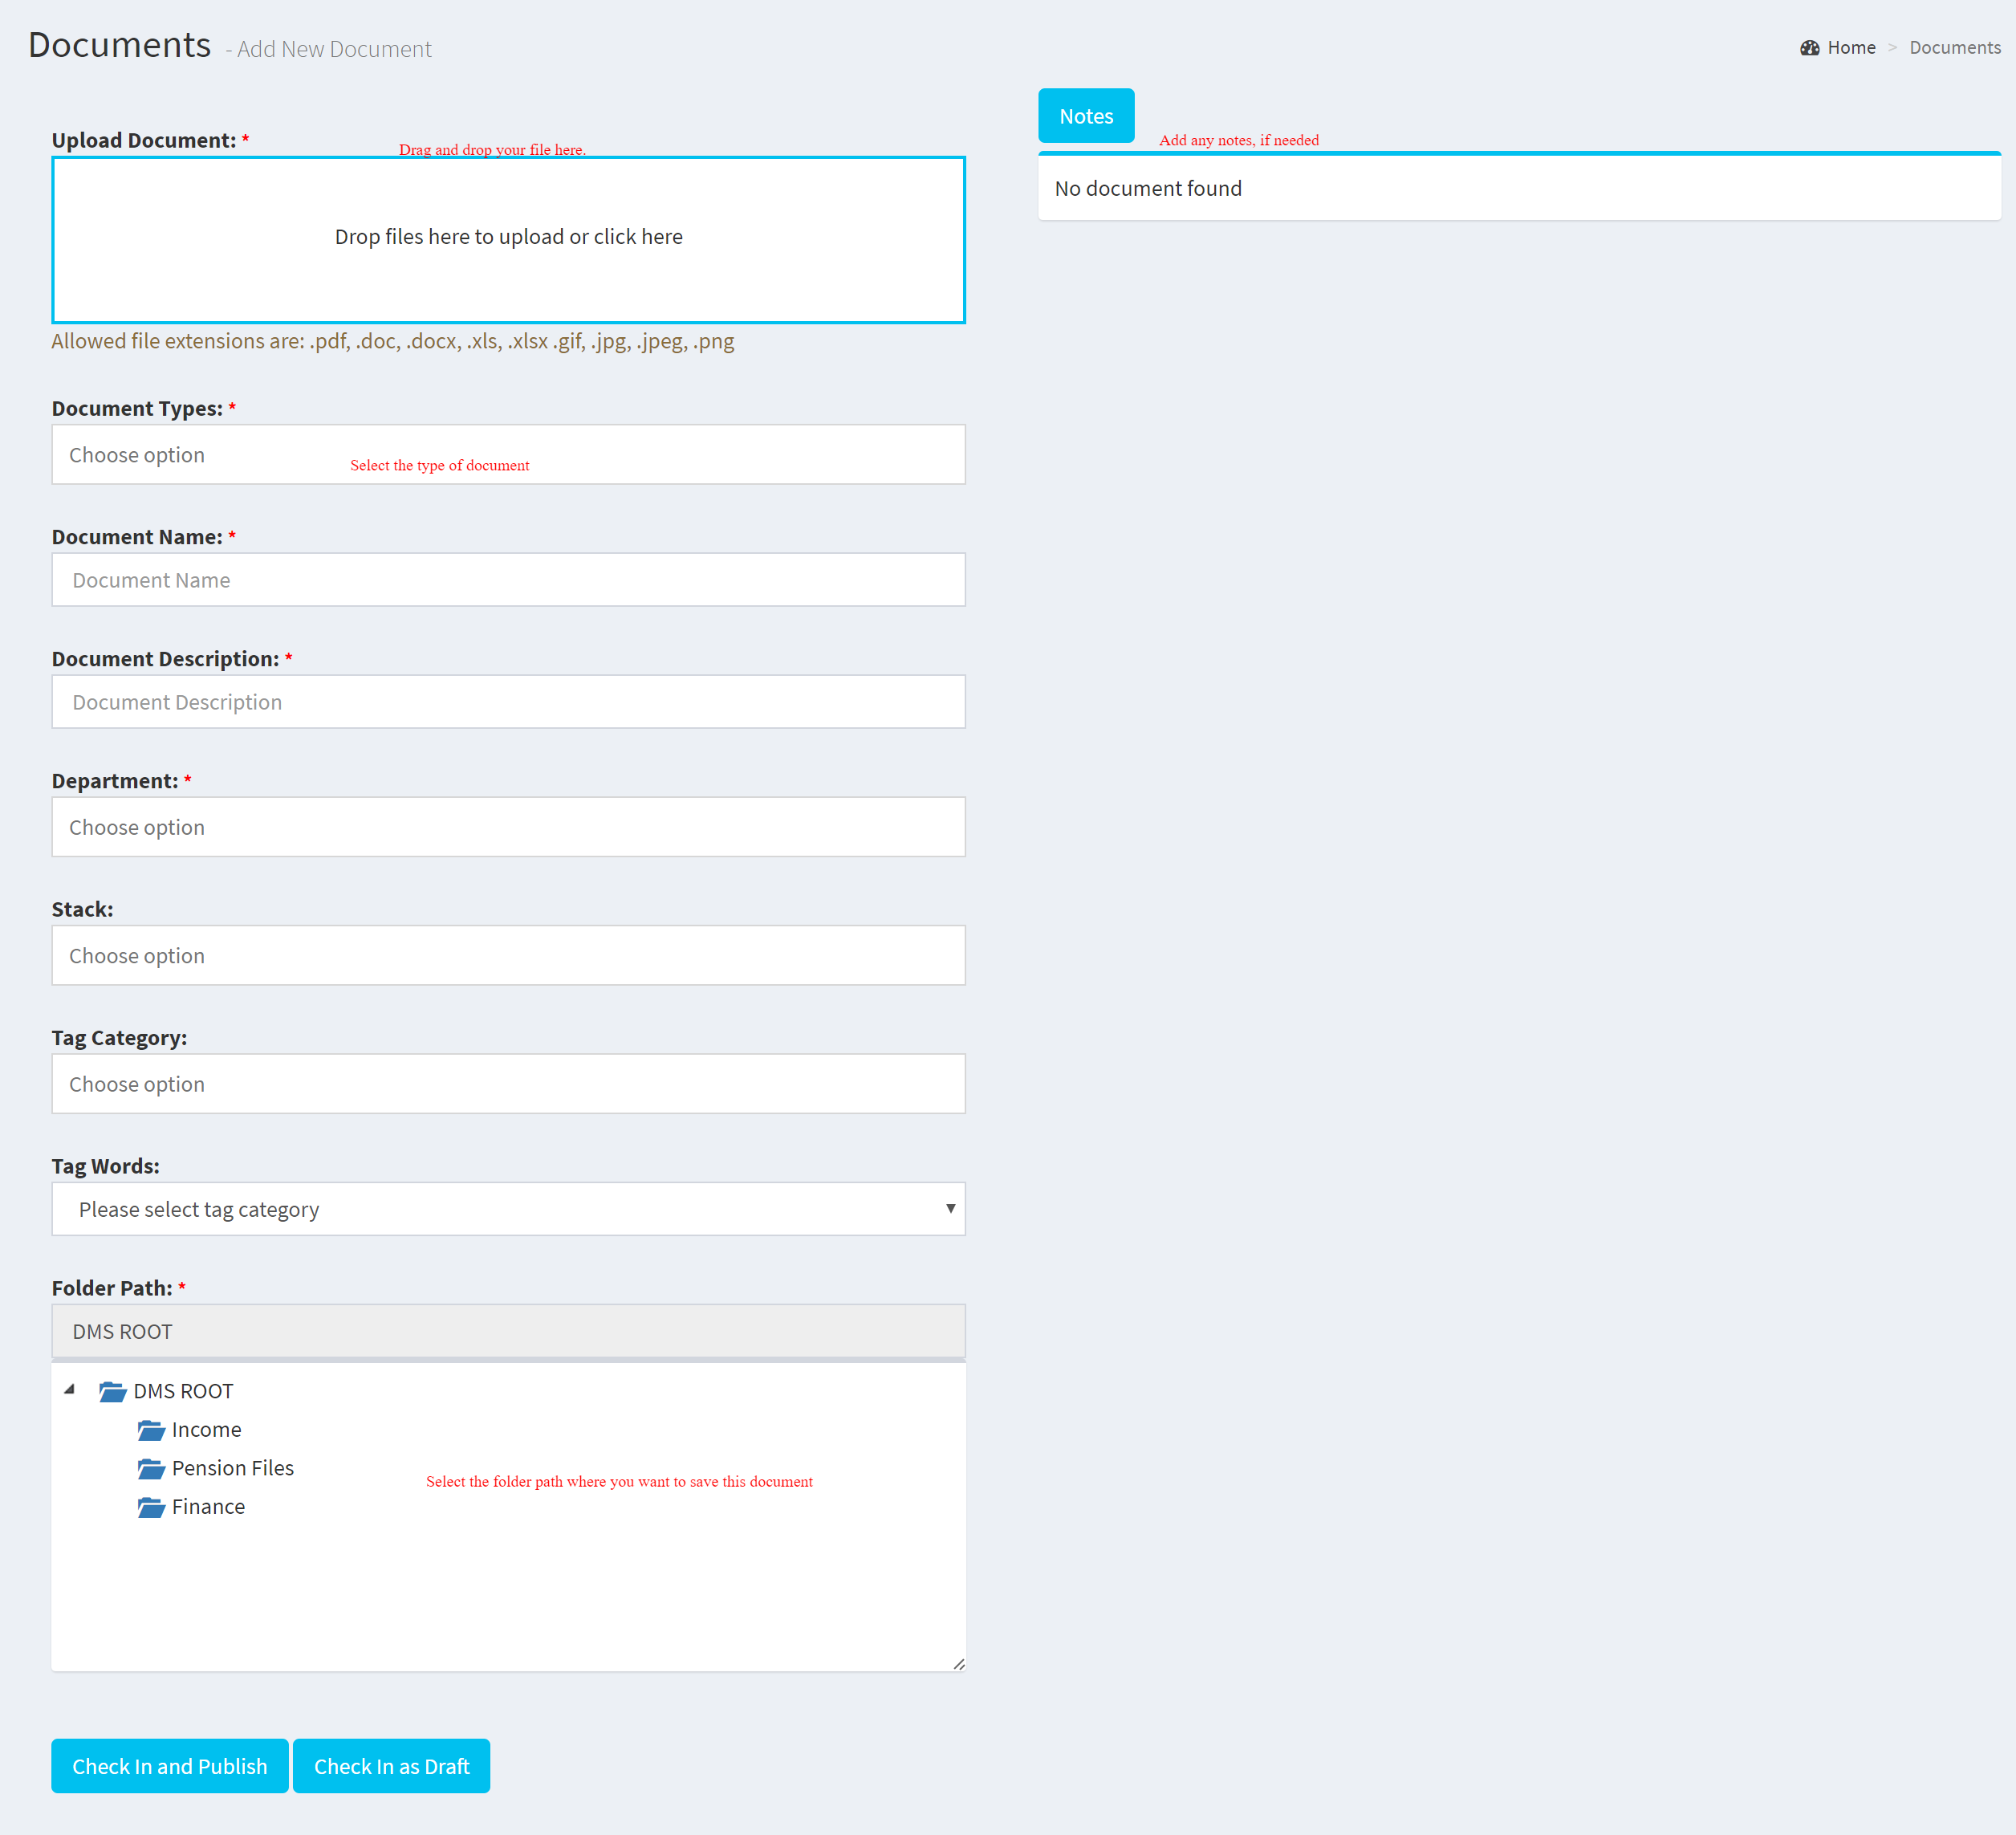
Once all the relevant information is input, you can Publish the document or save it as a Draft.
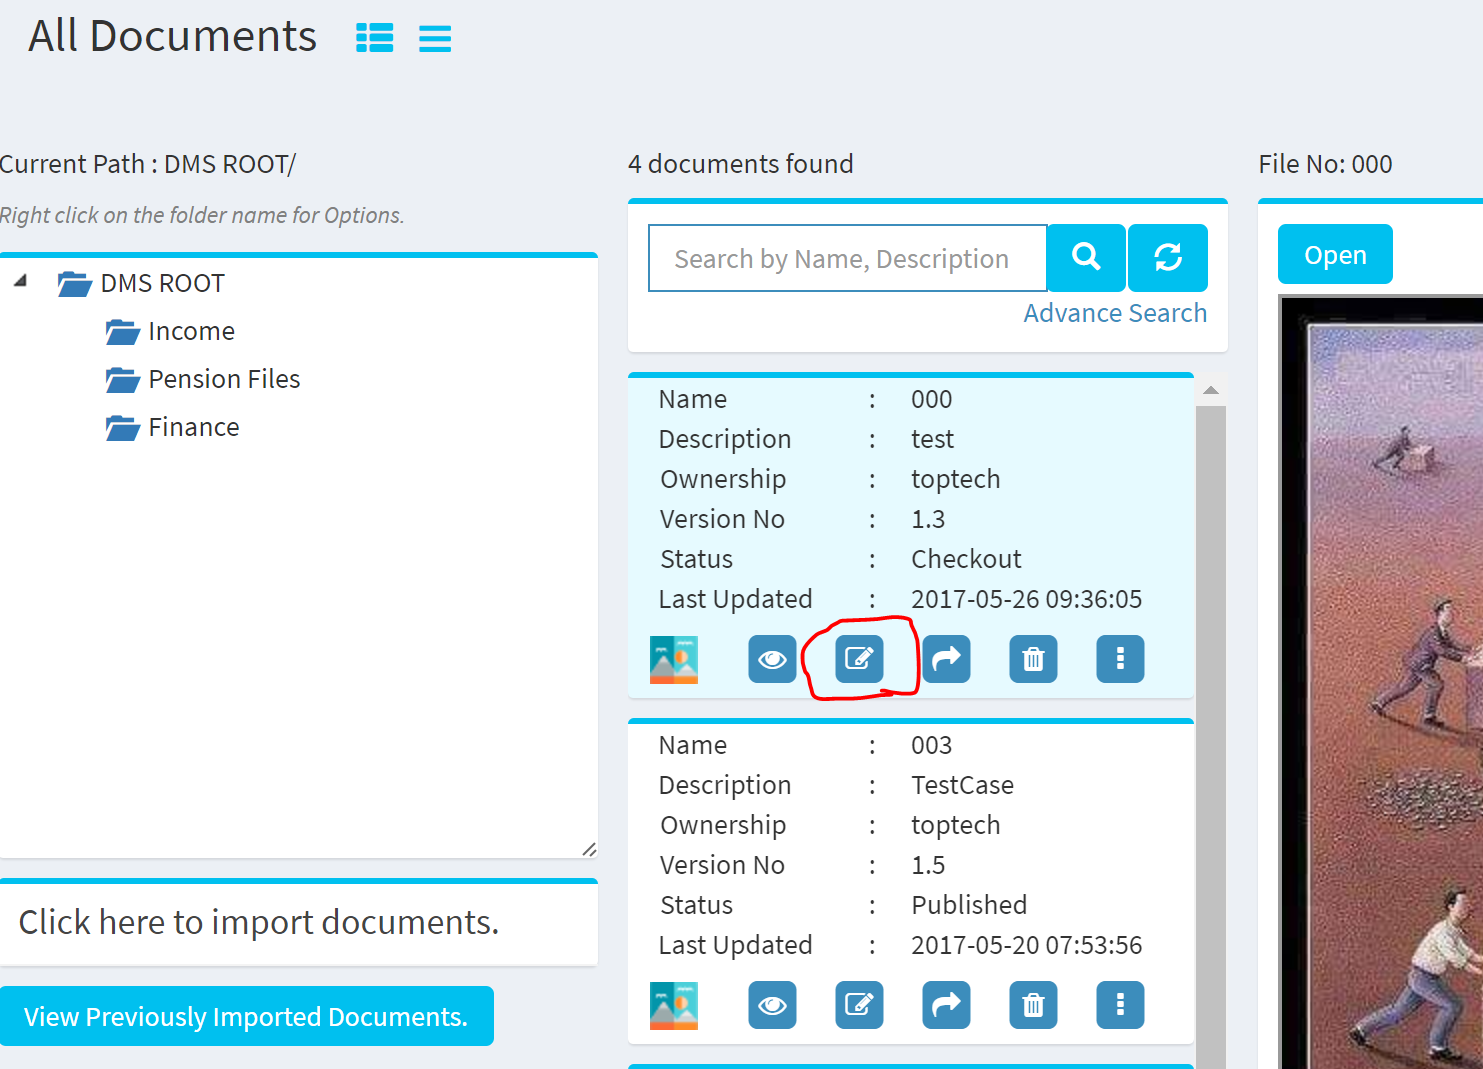
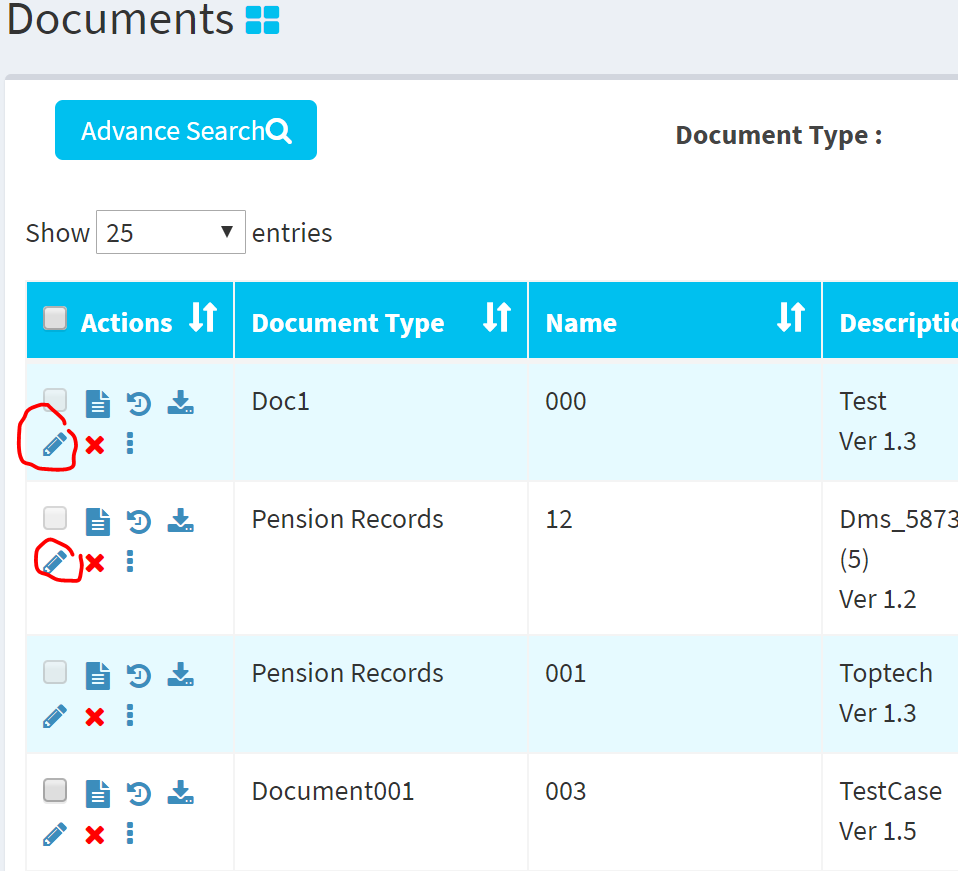
Editing a document is possible by clicking on the Edit button. You can see this button as below:
Grid View of All Documents
List View of All Documents
IMPORTANT: If you change the Document Type of a document in Edit, the document version will be increased by .1 and previous data will be stored as an old version and the new data will be saved as the newer version of the document.
Setting Expiry Date for a Document
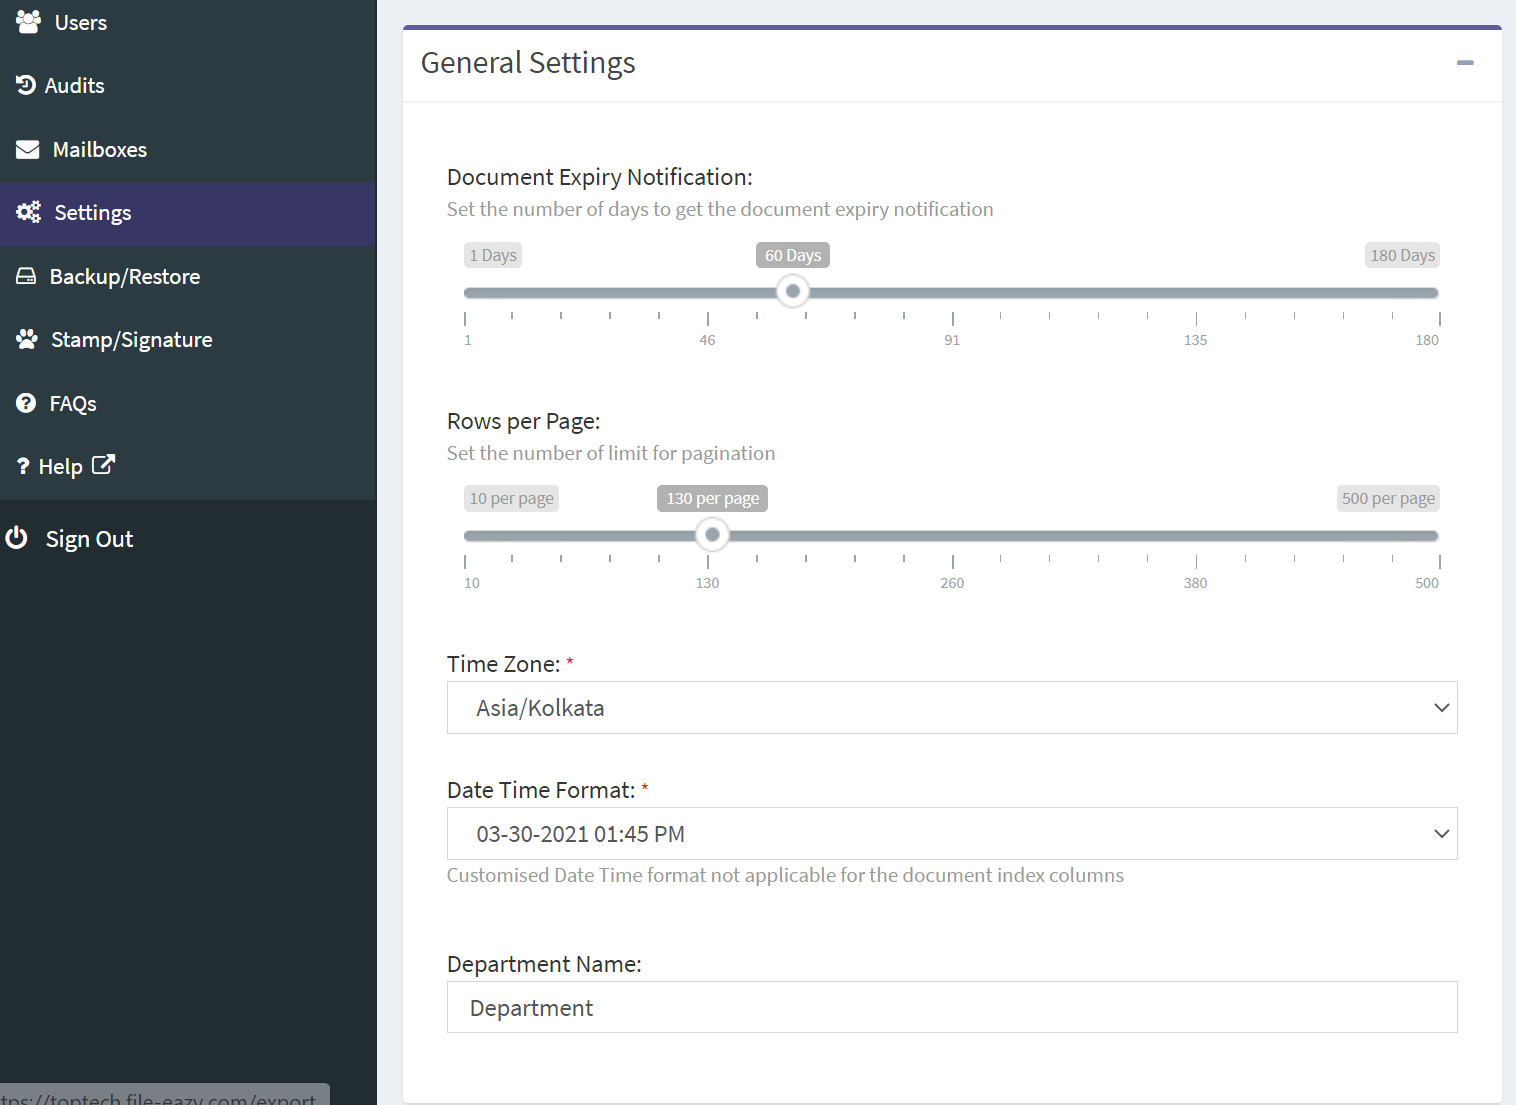
You can set an expiry date for a document while adding or editing a document. By default, the No Expiry will checkbox will be checked to indicate that this document has no expiry date. If you sent an expiry date for a document. that document will be shown as an expired document in the List View of All Documents. You can also filter the documents that will expire soon by selecting Documents that will Expire Soon condition from the filer drop down list in the List View of All Documents. FileEazy determines the documents that will expire soon by the days set in the General Section in the Settings screen. Note that Settings menu can be accessed only a user with Admin privileges.
Related Topics